Vincent Tétreault, who's amazing stop-motion work and wonderfully helpful blog can be found here:
vincetetreaultstopmotion.blogspot.com, recently asked me what kind of paints I use for my foam latex puppets. The short answer is that I use PAX paints which stands for a Pros-Aide/Acrylic Mix. If your wondering what Pros-Aide is, where to find it and why you should even bother using this method in the first place then the longer answer might be a little more helpful.
Pros-Aide is a non-toxic prosthetic adhesive commonly used in special effects makeup. Here's an example of it put to practice as I used it to attach cardboard bolts onto my neck this past Halloween.
Much like skin your foam latex puppet will be moving and flexing while it's being animated and the problem with just using just any old paint is that it will eventually begin to crack and flake off as the puppet is put to use which, needless to say, will look pretty awful when played back frame by frame. Mixing Pros-Aide with acrylic paints alleviates this problem because it remains sticky and bendable after it has "dried." So sticky in fact that it will want to stick to everything including itself, which is why it's such a good adhesive. I talk more about this later.
First off you'll need all the materials pictured above: Cornstarch, makeup wedges and a small makeup brush which can all be easily purchased at any supermarket/drugstore. Acrylic paints which can be found at any local arts and craft store like Michael's. And Pros-Aide which can be ordered here:
Frends Beauty Supply.
1. Pour an equal amount of Pros-Aide and Acrylic Paint, 50/50 should be the ratio.
2. Mix thoroughly.
3. You'll know it's fully mixed when you no longer can see the Pros-Aide. Another wonderfully thing about the Pros-Aide is that it won't add any pigment to your paint.
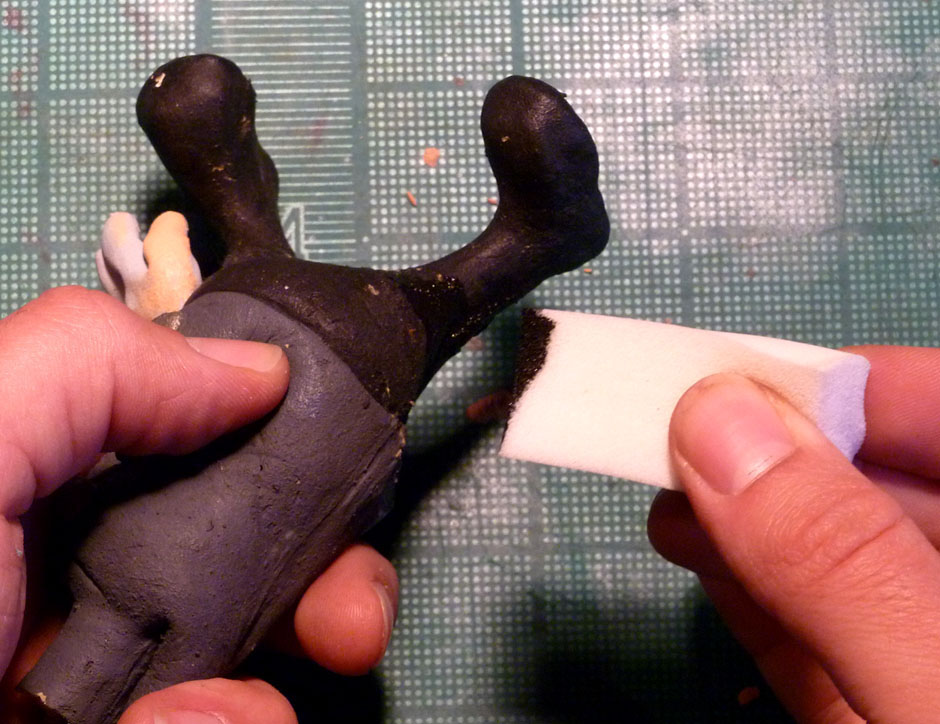
4. Grab a makeup wedge and begin painting your puppet with the new mix. Applying paint with a makeup wedge allows you to get a softer looking coverage as opposed to sloppy looking paint lines when applying with a brush, though smaller details may be handled with a brush.
5. Once you finished painting let your puppet fully dry before moving on to this step. Because of Pros-Aide's tacky nature it has a tendency to stick to itself and when this happens it can tear the paint off of the puppet when attempting to pull it apart. To prevent this grab the makeup brush and dust the puppet generously with cornstarch.
6. The cornstarch will change the color of the paint when it is first applied, but after handling it for a little bit and making sure that all of the excess cornstarch is off it should look close to how it was before the only difference being that it will now have a slight matte finish. The puppet can now be handled without fear that the paint will stick to itself or to your fingers.
For even more information and a great article about PAX paints you can go to
StopMotionMagazine.com and download their October 2009 issue for free. For more information about where to get Pros-Aide you can go to:
Pros-Aide.com
-Alfonso